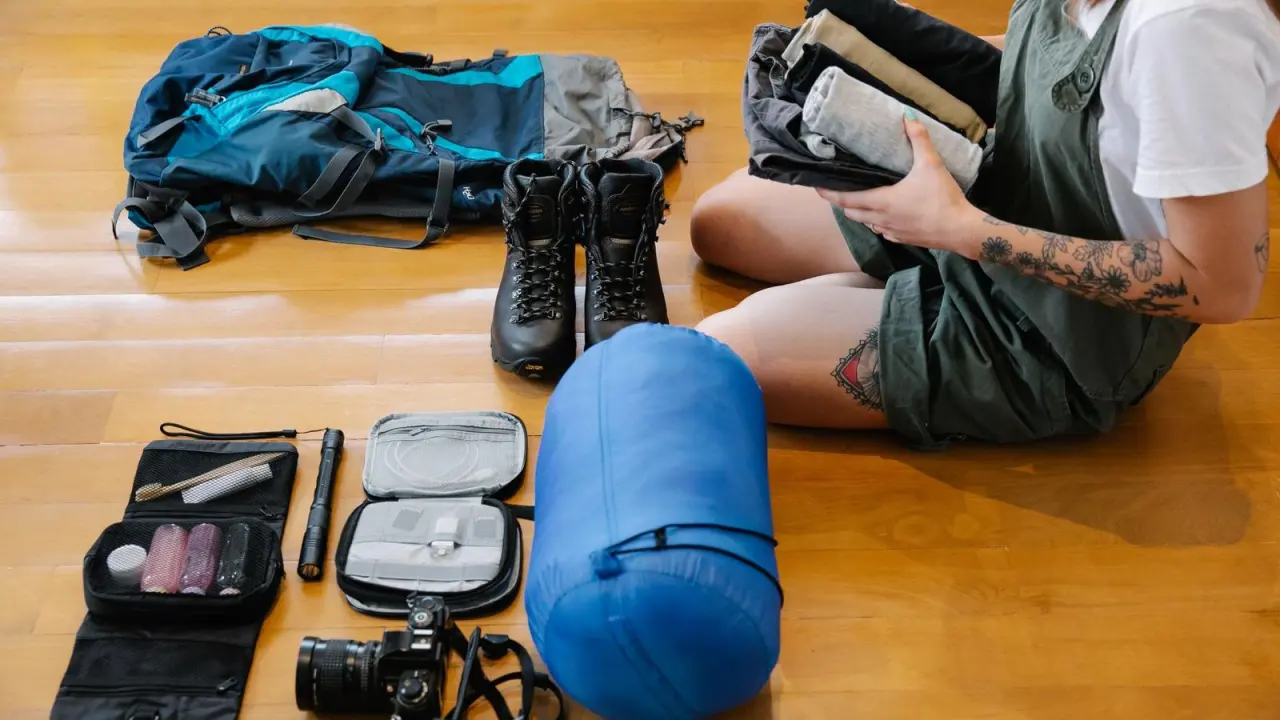
Wondering how to pack a backpack for camping so it feels light and nothing digs into your back? Put heavy gear in the middle against your spine, soft bulky items at the bottom, and daily-use items on top.
If you are also sorting out wet-weather kit for the coast, start with our guide to the best outdoor gear for vancouver weather.
| Item | Value |
|---|---|
| Target total pack weight | About 20-25% of your body weight |
| Share of pack weight the hip belt can carry | 70-80% of the pack’s weight |
| Extra energy cost of an unevenly distributed load | Up to 15% |
| Shoulder strap anchor point height | 1 to 2 inches below the top of your shoulder |
| Packing zones to work through | Four zones |
These figures come from Packstack’s backpacking pack guide and are written for backpacking, which applies directly to any walk-in campsite. They can change, so check the source before you rely on them.
Start with the right pack size and weight
Check that the pack matches the gear before you load anything. Packstack’s March 7, 2026 guide warns that putting 50 liters’ worth of gear in a 40-liter pack is a recipe for disaster, because you get poor weight distribution and max out the pack’s load range. A pack that is far too big has its own problem: it tempts you to bring more and carries the load inefficiently.
As a general target, the same guide suggests keeping your total pack weight at about 20-25% of your body weight. Treat that as a guide for deciding what stays home, not a rule that fits every trip.
Plan before you pack. Treeline Review’s August 28th, 2023 guide says there is no single best way to pack, and that the most important principle is to plan ahead around the weather and your water sources. Run through the camping gear checklist for beginners first, so everything that goes in the pack has earned its place.
If you are camping with others, Active.com’s guide, updated September 3, 2015, advises splitting the weight of heavier, communal items between all of you.
How to pack a backpack for camping, zone by zone
Packstack tells you to think of your pack as divided into four zones, each with its own job. Work from the bottom up:
- Bottom: your sleeping bag and other bulky-but-light items you will not need on the trail, such as a tarp, sleeping pad or the clothes you plan to sleep in.
- Middle: your heaviest items, including food and water bladders, kept close to your back.
- Top: bulky things you may want during the day, such as a rain jacket.
- External pockets: small items you touch all day.
The bottom zone is a good home for the sleeping bag. Packstack says it gives your other gear a soft cushion to ride on and works like a shock absorber to reduce impact on your shoulders and hips. It is also the last thing you reach for at the end of the day.
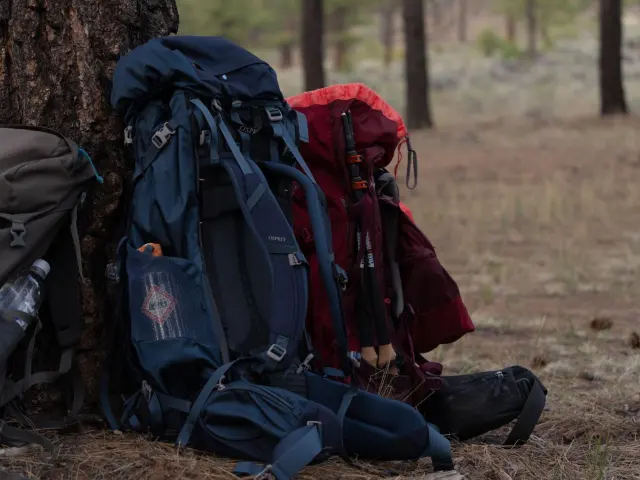
The middle is the zone that matters most. Packstack says the bulk of your weight should be centered between your shoulder blades and close to your back. Get it wrong and weight at the bottom pulls you backwards, while weight at the top makes you top-heavy on rough ground. Active.com gives the same advice: heavier things go in the center of the pack and close to your body, such as your tent bag.
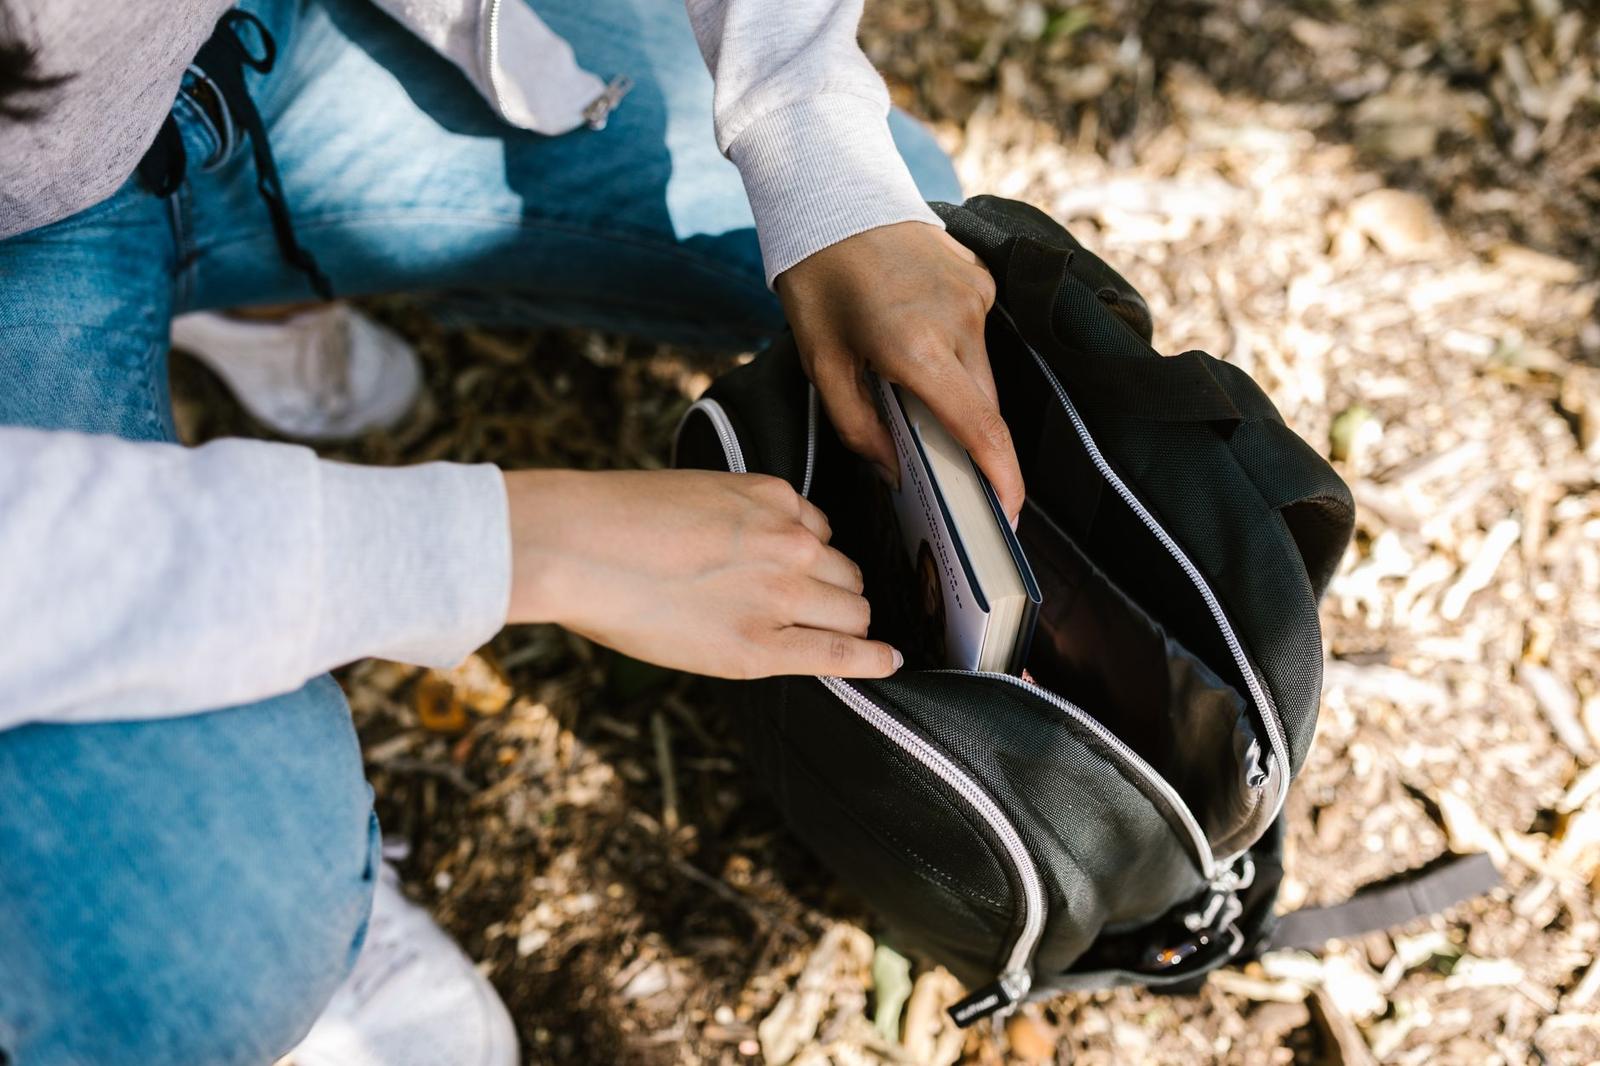
If you carry a bear canister, Packstack says packing it horizontally is the most efficient use of space. Put it on the bottom of the middle layer or on top of your sleeping bag and extra clothing, so it sits in your lumbar region and keeps your center of gravity low.
Keep the things you reach for all day within reach
Decide what you will want without taking the pack off. Treeline Review suggests that if you are headed above treeline or rain is likely, layers and a rain jacket should be easy to get at. Water filter and storage bags belong close by if you will be filtering along the way.
Packstack’s suggested spots for small items are easy to copy:
- Top compartment: small electronics, snacks or navigation tools.
- Side pockets: water bottles, maps or sunscreen.
- Hip belt pockets: energy bars, your phone or a small camera.
Keep the rule for external pockets in mind: Packstack says to avoid storing heavy items in your external pockets, especially on the front of the pack, because they throw off your balance. Treeline Review adds that if you use a shoulder strap pocket, check that it does not get in the way of your sternum strap.
Active.com suggests putting extra water toward the bottom center of the pack, with your primary water bottle outside the pack or at the very top.
Fill the gaps and strap everything down
Empty space makes a pack shift. Packstack suggests using spare clothes that you do not need during the day to fill the gaps between heavier items, which stops them moving and keeps irregular objects from poking you. Hollow items work too: Active.com notes you can stuff a shirt or utensils into an empty pot or pan.
Packstack also recommends stacking in horizontal layers rather than vertical columns, which spreads weight more evenly across the pack. Then tighten your compression straps, since Active.com points out that a shifting load shifts your center of gravity.
Gear that has to go outside should be chosen carefully. Active.com says a sleeping bag can attach at the bottom of many packs, and a rolled-up sleeping pad or hiking poles can be strapped on, but these items may swing or catch on plants as you walk by.
Fit the harness after you load it
A well-packed pack still hurts if the harness is off. Packstack says to start with the hip belt, every time: snug and positioned on your hip bones rather than your waist, it can bear 70-80% of the pack’s weight and reduces fatigue.
Then adjust the shoulder straps. They should wrap closely around your shoulders but should not carry significant weight, or you stress your shoulder, neck and upper-back muscles. Packstack also says to check that the strap anchor points sit 1 to 2 inches below the top of your shoulder.
Balance matters for effort, too. Packstack cites studies showing that an unevenly distributed load can increase energy expenditure by up to 15%, so a few minutes of adjusting pays off over a long carry.
How do you keep your gear dry?
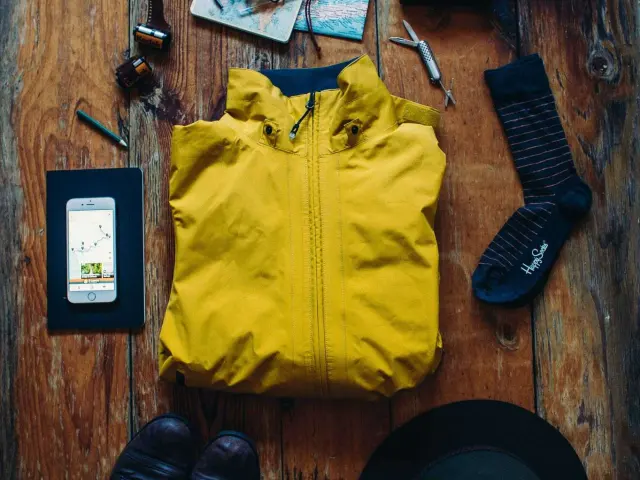
Treeline Review’s guide covers several options: a pack liner, dry bags or packing cubes, and poncho-style pack covers. Choose your system before you leave, and keep your rain layers in the top zone. Packstack puts it bluntly: a rain jacket belongs there, and waterproofs should be where you can grab them without unpacking half your bag.
Wet gear needs a place too. Packstack notes that some stash pockets are made with built-in drains or durable mesh, which makes them good spots for wet items.
If your trip involves a boat rather than a trail, the kayaking gear checklist for beginners is a better starting point for what to bring.
Frequently asked questions
What goes at the bottom of a camping backpack?
Show answer
Your sleeping bag and other bulky-but-light items you will not need on the trail. Packstack says the bag also acts as a cushion and shock absorber for the gear above it.
Where should the heaviest gear go?
Show answer
In the middle of the pack, centered between your shoulder blades and close to your back. Active.com gives the same advice for heavier items such as a tent bag.
How heavy should a camping pack be?
Show answer
Packstack suggests about 20-25% of your body weight as a general target. Check the figure at the source, as it is a guideline rather than a fixed limit.
Can I strap gear to the outside of the pack?
Show answer
Yes, within reason. Active.com says items such as a rolled sleeping pad or hiking poles can be strapped on, but they may swing or catch on plants, and Packstack says to keep heavy items out of external pockets.